

The developer of RegCleaner, jv16 PowerTools, Uninstalr, WinFindr, Startup Timer, ScreenshotX, System Examiner and Windows Update Fixer.
Adobe Inc. is a software company that’s known for publishing several popular software such as Adobe Photoshop, Adobe Illustrator, and Adobe Acrobat Reader. The company also invented the PDF (Portable Document Format) file which many people still use to this day. In 2013, Adobe launched Adobe Creative Cloud, a subscription-based service where users can access various software published by Adobe.
The switch to a subscription-only pricing model is criticized by many, especially considering the price point. But, this isn’t the only concern surrounding Adobe products which led people to uninstall Adobe products. There are also performance issues caused by installation bloatware and processes running in the background, privacy concerns, forced updates, and so on.
That being said, the process to completely uninstall Adobe products isn’t a straightforward one. The usual methods of uninstalling from Windows Control Panel/Settings or running Adobe Creative Cloud Cleaner typically still leave a lot of leftover files and registry entries from the app. But, there’s an alternative we recommend which you’ll see in this article. Keep reading to find out a step-by-step guide to uninstall Adobe products completely.
Table of Contents
Is it possible to uninstall Adobe Creative Cloud completely?
There are some reasons why uninstalling Adobe Creative Cloud using its official tool would typically leave leftovers, such as:
- Adobe purposely designed their software to preserve the settings in case users want to reinstall in the future
- Their software architecture is complicated involving components that are interconnected
- Adobe Creative Cloud Cleaner tool would keep some files to support other Adobe products that users might still use
But if you opt to uninstall Adobe products from Windows Control Panel or Settings, you’ll also face the same issue of having leftovers. We have an explanation of why uninstalling from Windows isn’t ideal in this article.
This is why you’ll need a more thorough approach to do this because having too many leftovers in your system would slow down your system considerably.
What you need to do before uninstalling Adobe products
Before uninstalling Adobe products, you need to make sure that you’ve done the following:
- Make sure that you have Admin privileges
- Create a backup of your important files
- Sign out from Adobe account
- Close all Adobe applications, including the ones that are running in the background
These steps are needed to ensure that you don’t encounter any possible issues after uninstallation.
How to uninstall Adobe Creative Cloud on Windows
There are different ways for you to uninstall Adobe Creative Cloud. The most typical way is to uninstall from Windows Control Panel/Settings or use Adobe Creative Cloud Cleaner. However, these methods require multiple steps and aren’t straightforward.
This is why we recommend using an alternative, which is to uninstall using a trusted third-party tool like Uninstalr. With Uninstalr, you can do an unattended uninstallation of Adobe products. You can automate the uninstallation process after a few clicks and you also wouldn’t need to worry about leftovers. Read more to delve into these options.
Uninstall Adobe Creative Cloud from Windows Control Panel/Settings
From Control Panel
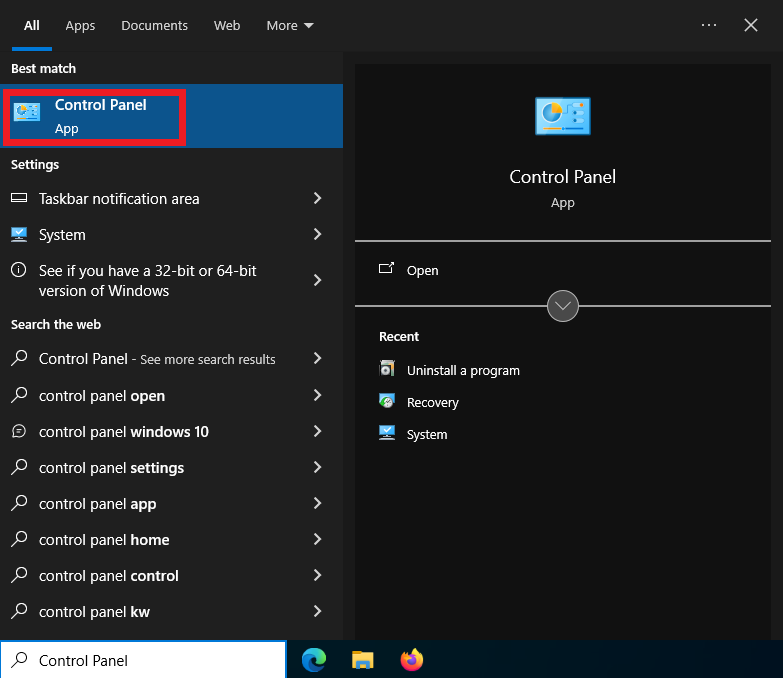
- Look up “Control Panel” from the Windows search box > click from the search result to open Control Panel
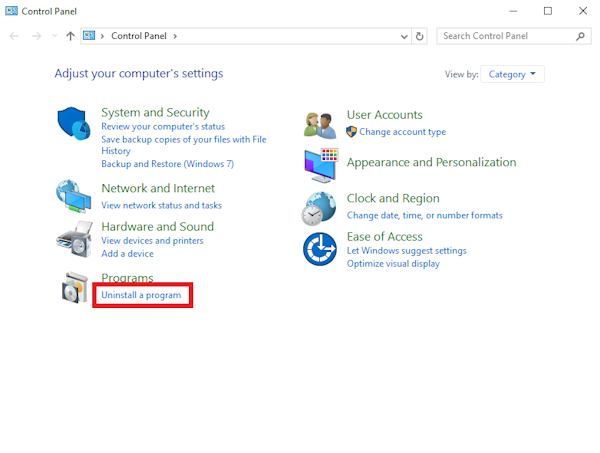
- In the Control Panel window, click “Uninstall a program” under the Programs menu
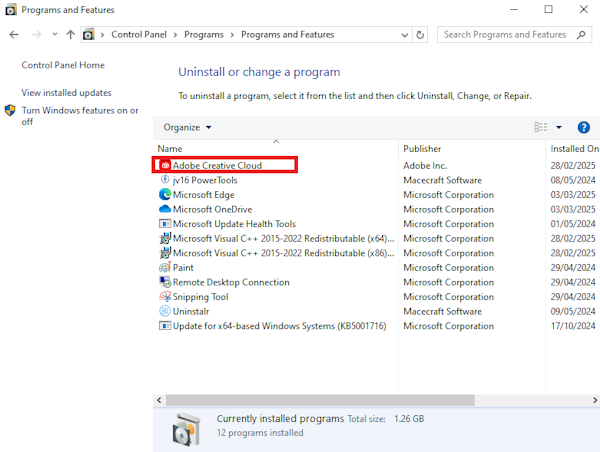
- In the new Programs and Features window, you’ll be able to see the list of apps installed in your system. Double-click on the Adobe Creative Cloud app to uninstall
From Windows Settings
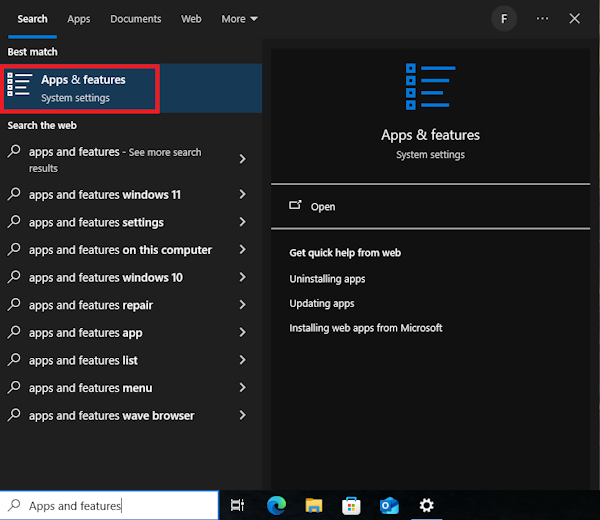
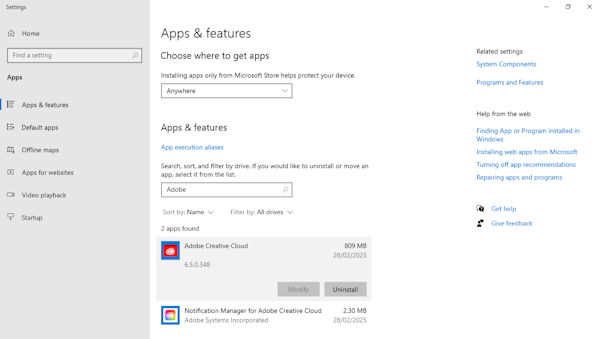
- Look up “Apps & features” in the Windows search box then click from the search results
- In the “Apps & features” screen, look up “Adobe Creative Cloud” in the search bar
- Once you find Adobe Creative Cloud from the search results, click on the app > click the “Uninstall” button > click “Uninstall” again to proceed with uninstallation
Uninstall Adobe Creative Cloud using the official tool, Adobe Creative Cloud Cleaner
Adobe recommends to do some safety precautions in their official guide before you run Adobe Creative Cloud Cleaner, such as:
- Run the log collector tool to take a backup of log files
- Check the sync status of your files in the Adobe Creative Cloud desktop app
- Close Creative Cloud Core Service and Adobe Content Synchronizer in Task Manager
- Save a copy of the following:
C:\Users<username>\AppData\Local\Adobe\AdobeSync\CoreSync C:\Users<username>\AppData\Roaming\Adobe\CoreSync- Close Adobe Creative Cloud desktop app
- Close Adobe-related background processes in Task Manager
- Save a copy of all content stored in Adobe product folders
- Save a copy of old installer files, if necessary
- Create recommended backups before running the tool
Once you’ve done the above, you can use the Cleaner tool to uninstall Adobe Creative Cloud. Here’s how:
- Download the tool from its official website
- Once done, right-click the downloaded cleaner.exe file and click “Run as administrator”
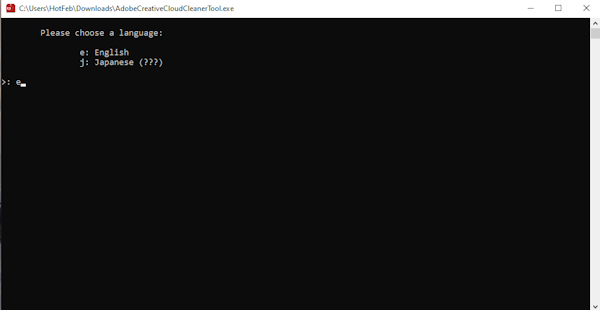
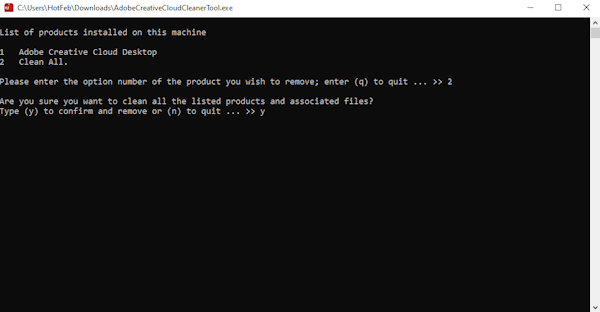
- A new screen will appear, and you’ll be asked to select the language. Type e to choose the English language and hit the Enter button
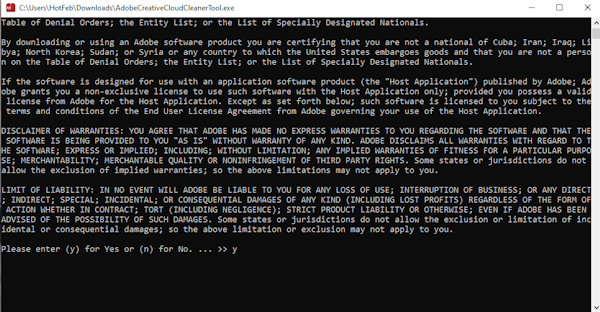
- Review the Adobe End-User License Agreement. Type y and hit Enter to accept (if you type n, the program will stop)
- Select Creative Cloud from the list of the app by typing the number indicated and clicking Enter
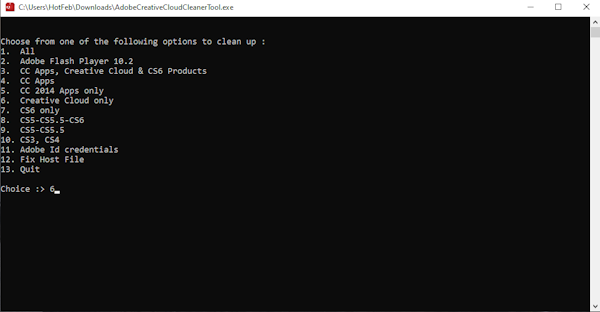
- Choose whether you only want to uninstall the Adobe CC desktop app or clean everything, then confirm that you want to uninstall by typing y and hitting Enter
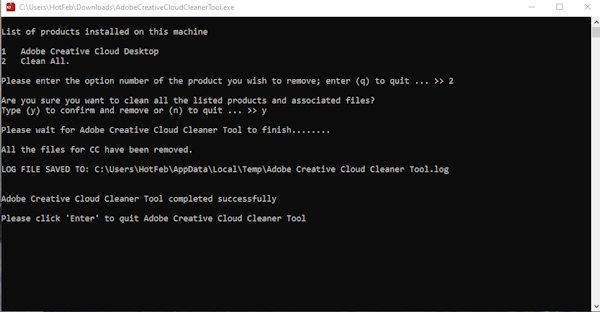
- When you see a message which says “Adobe Creative Cloud Cleaner tool completed successfully”, press Enter and restart your computer
Uninstall Adobe Creative Cloud using Uninstalr
If you’re not a fan of tedious multi-step uninstallation, you can opt for a trusted third-party tool like Uninstalr. Here’s how:
- Before getting started, it’s important to back up your important data and create restore points you can revert back to be safe
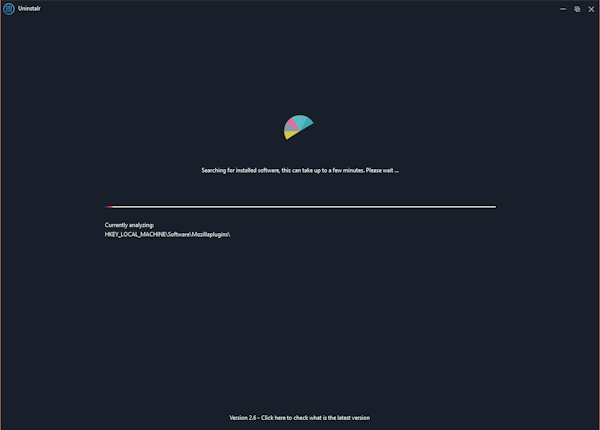
- Run Uninstalr. This would also automatically run a system scan. Wait until it finishes
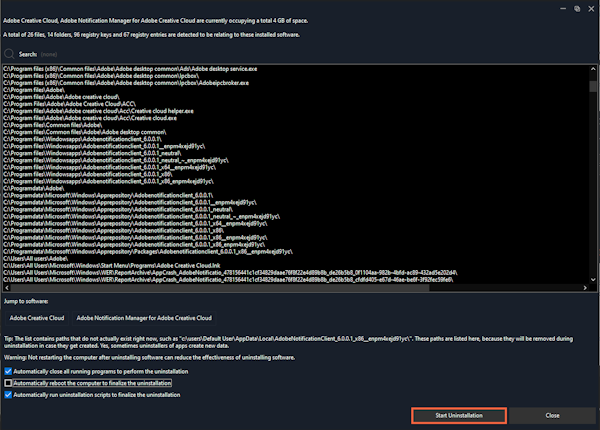
- Lookup Adobe Creative Cloud from the list of installed apps and click the “Uninstall” button
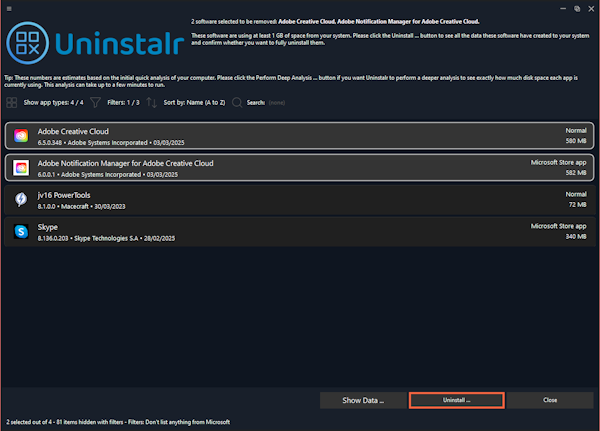
- Review carefully the items that will be deleted after the uninstallation. If everything looks good, click the “Start Uninstallation” button
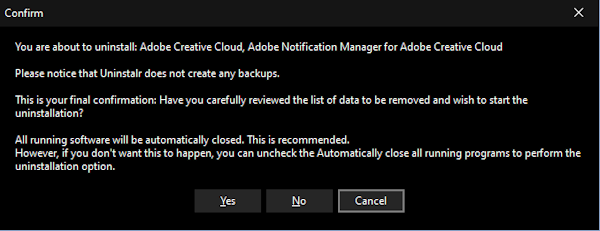
- A warning pop-up will appear to double check whether you’ve reviewed items that will be deleted and what to expect during uninstallation. Click “Yes” to proceed with uninstallation
- Wait until the uninstallation process finishes. If you enable automatic reboot after uninstallation, Uninstalr will automatically restart your system. Otherwise, we recommend you restart on your own to ensure Adobe CC’s complete removal
Conclusion
There are three ways you to uninstall Adobe Creative Cloud that you can choose from: uninstall from Windows Settings/Control Panel, uninstall using its uninstall tool, Adobe Creative Cloud Cleaner, or uninstall using a trusted third-party tool such as Uninstalr.
The first two require multiple steps and have known issues, such as leaving a lot of leftovers. According to the benchmark test we recently did, uninstalling Adobe CC from Windows Settings left 118 leftover items. Meanwhile, Uninstalr only left 17 leftover items in the same test.
It’s important to keep your computer system free from leftovers after uninstallation, junk, and overall unnecessary files because they accumulate over time and slow down your system. That’s why we recommend to uninstall your programs using trusted tools that leave the least amount of leftover and perform regular system cleanup.
I hope you find this article useful – and when you do please share this article on your website, forum, social media, or random people you meet at parties!